Load the family into the project and place it.
Slice roof revit.
Open the revit family with unattached voids and click create tab properties panel family category and parameters.
After that you can click finish to execute the cut.
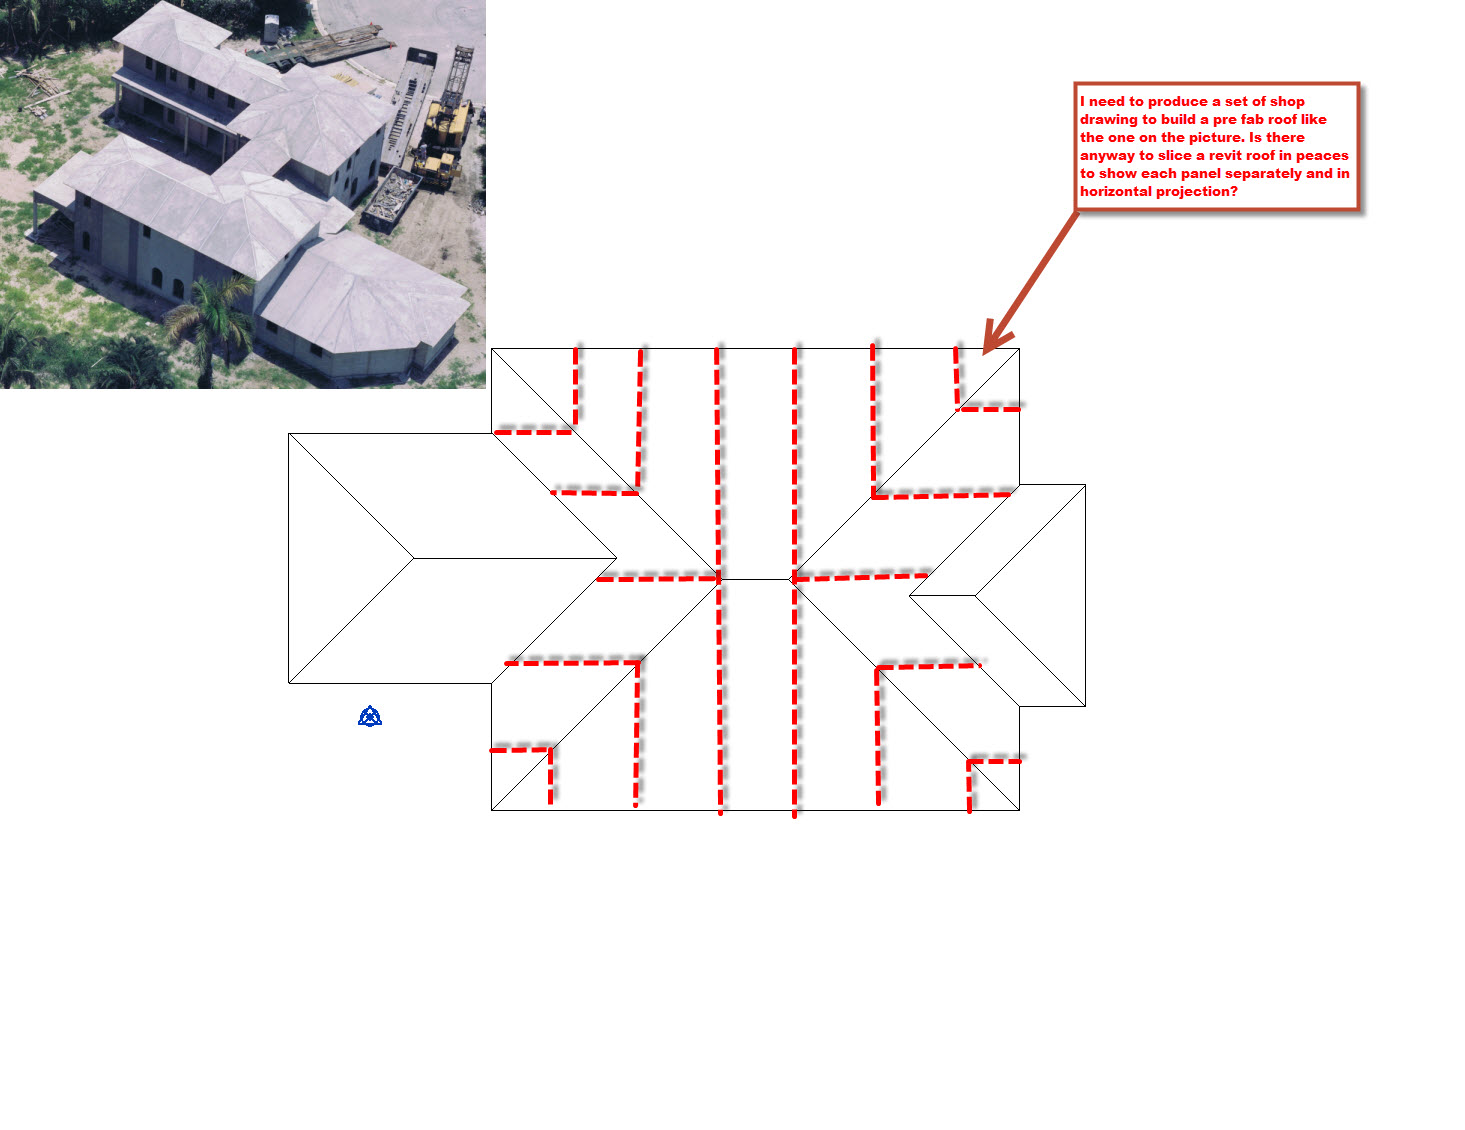
You can use the add split line tool to add linear edges and to split the existing face of a roof or structural floor into smaller sub regions.
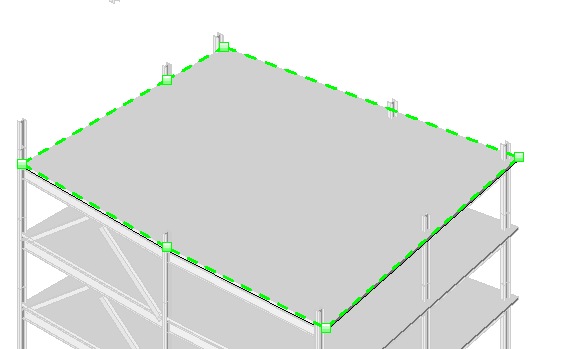
Watch the status bar to be sure that you are highlighting the main roof.
Highlight the main roof on the building model and click to select it.
Click modify floors tabshape editing paneladd split line.
This should keep you existing roof in tact and show a cut in the new construction phase.
Valid boundaries are highlighted.
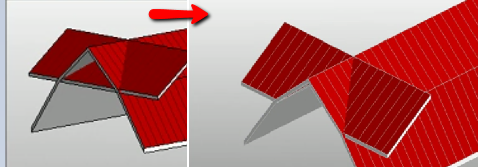
Determine the length of the void ideally in 3d view at wireframe mode extend this in order to intersect the roof surface that will be cut use the cut geometry command and select first the roof than the void.
Start points and endpoints can be added anywhere on the face of.
Place the cursor in the drawing area.
Click modify tab geometry panel cut drop down cut geometry.
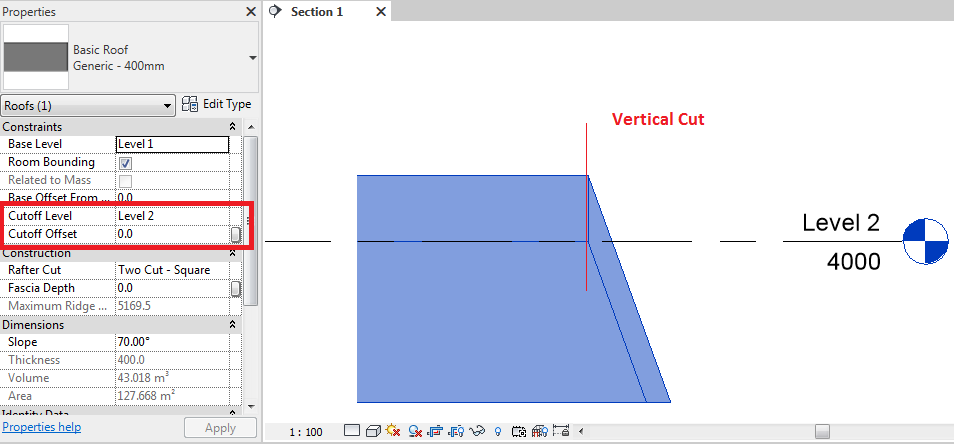
Create a sloped roof in revit step 1 draw your roof step 2 define the slope.
Revit roof slope can seem complicated at first glance but by learning a few critical features you can create any roof shape you desire.
Hope this is of assistance.
Click by face or vertical.
Whether you want a double gable roof with 6 pyramid shaped dormers or a simple gambrel roof the basics remain the same.
Use one of the opening tools to cut a vertical or perpendicular opening in a roof floor or ceiling for example to accommodate a chimney.
In the family category and parameters dialog select cut with voids when loaded and click ok.
Create a void extrusion and make to required cut in the new construction phase apply the cut and done.
The pick roof wall edges tool is active so that you can pick the boundaries that compose the dormer opening.
Select the floor to modify.
See hd version of video tutorial here.